I ripped this recipe for cheese straws out of a Southern Living magazine way back in 1994!

vintage aluminum cups

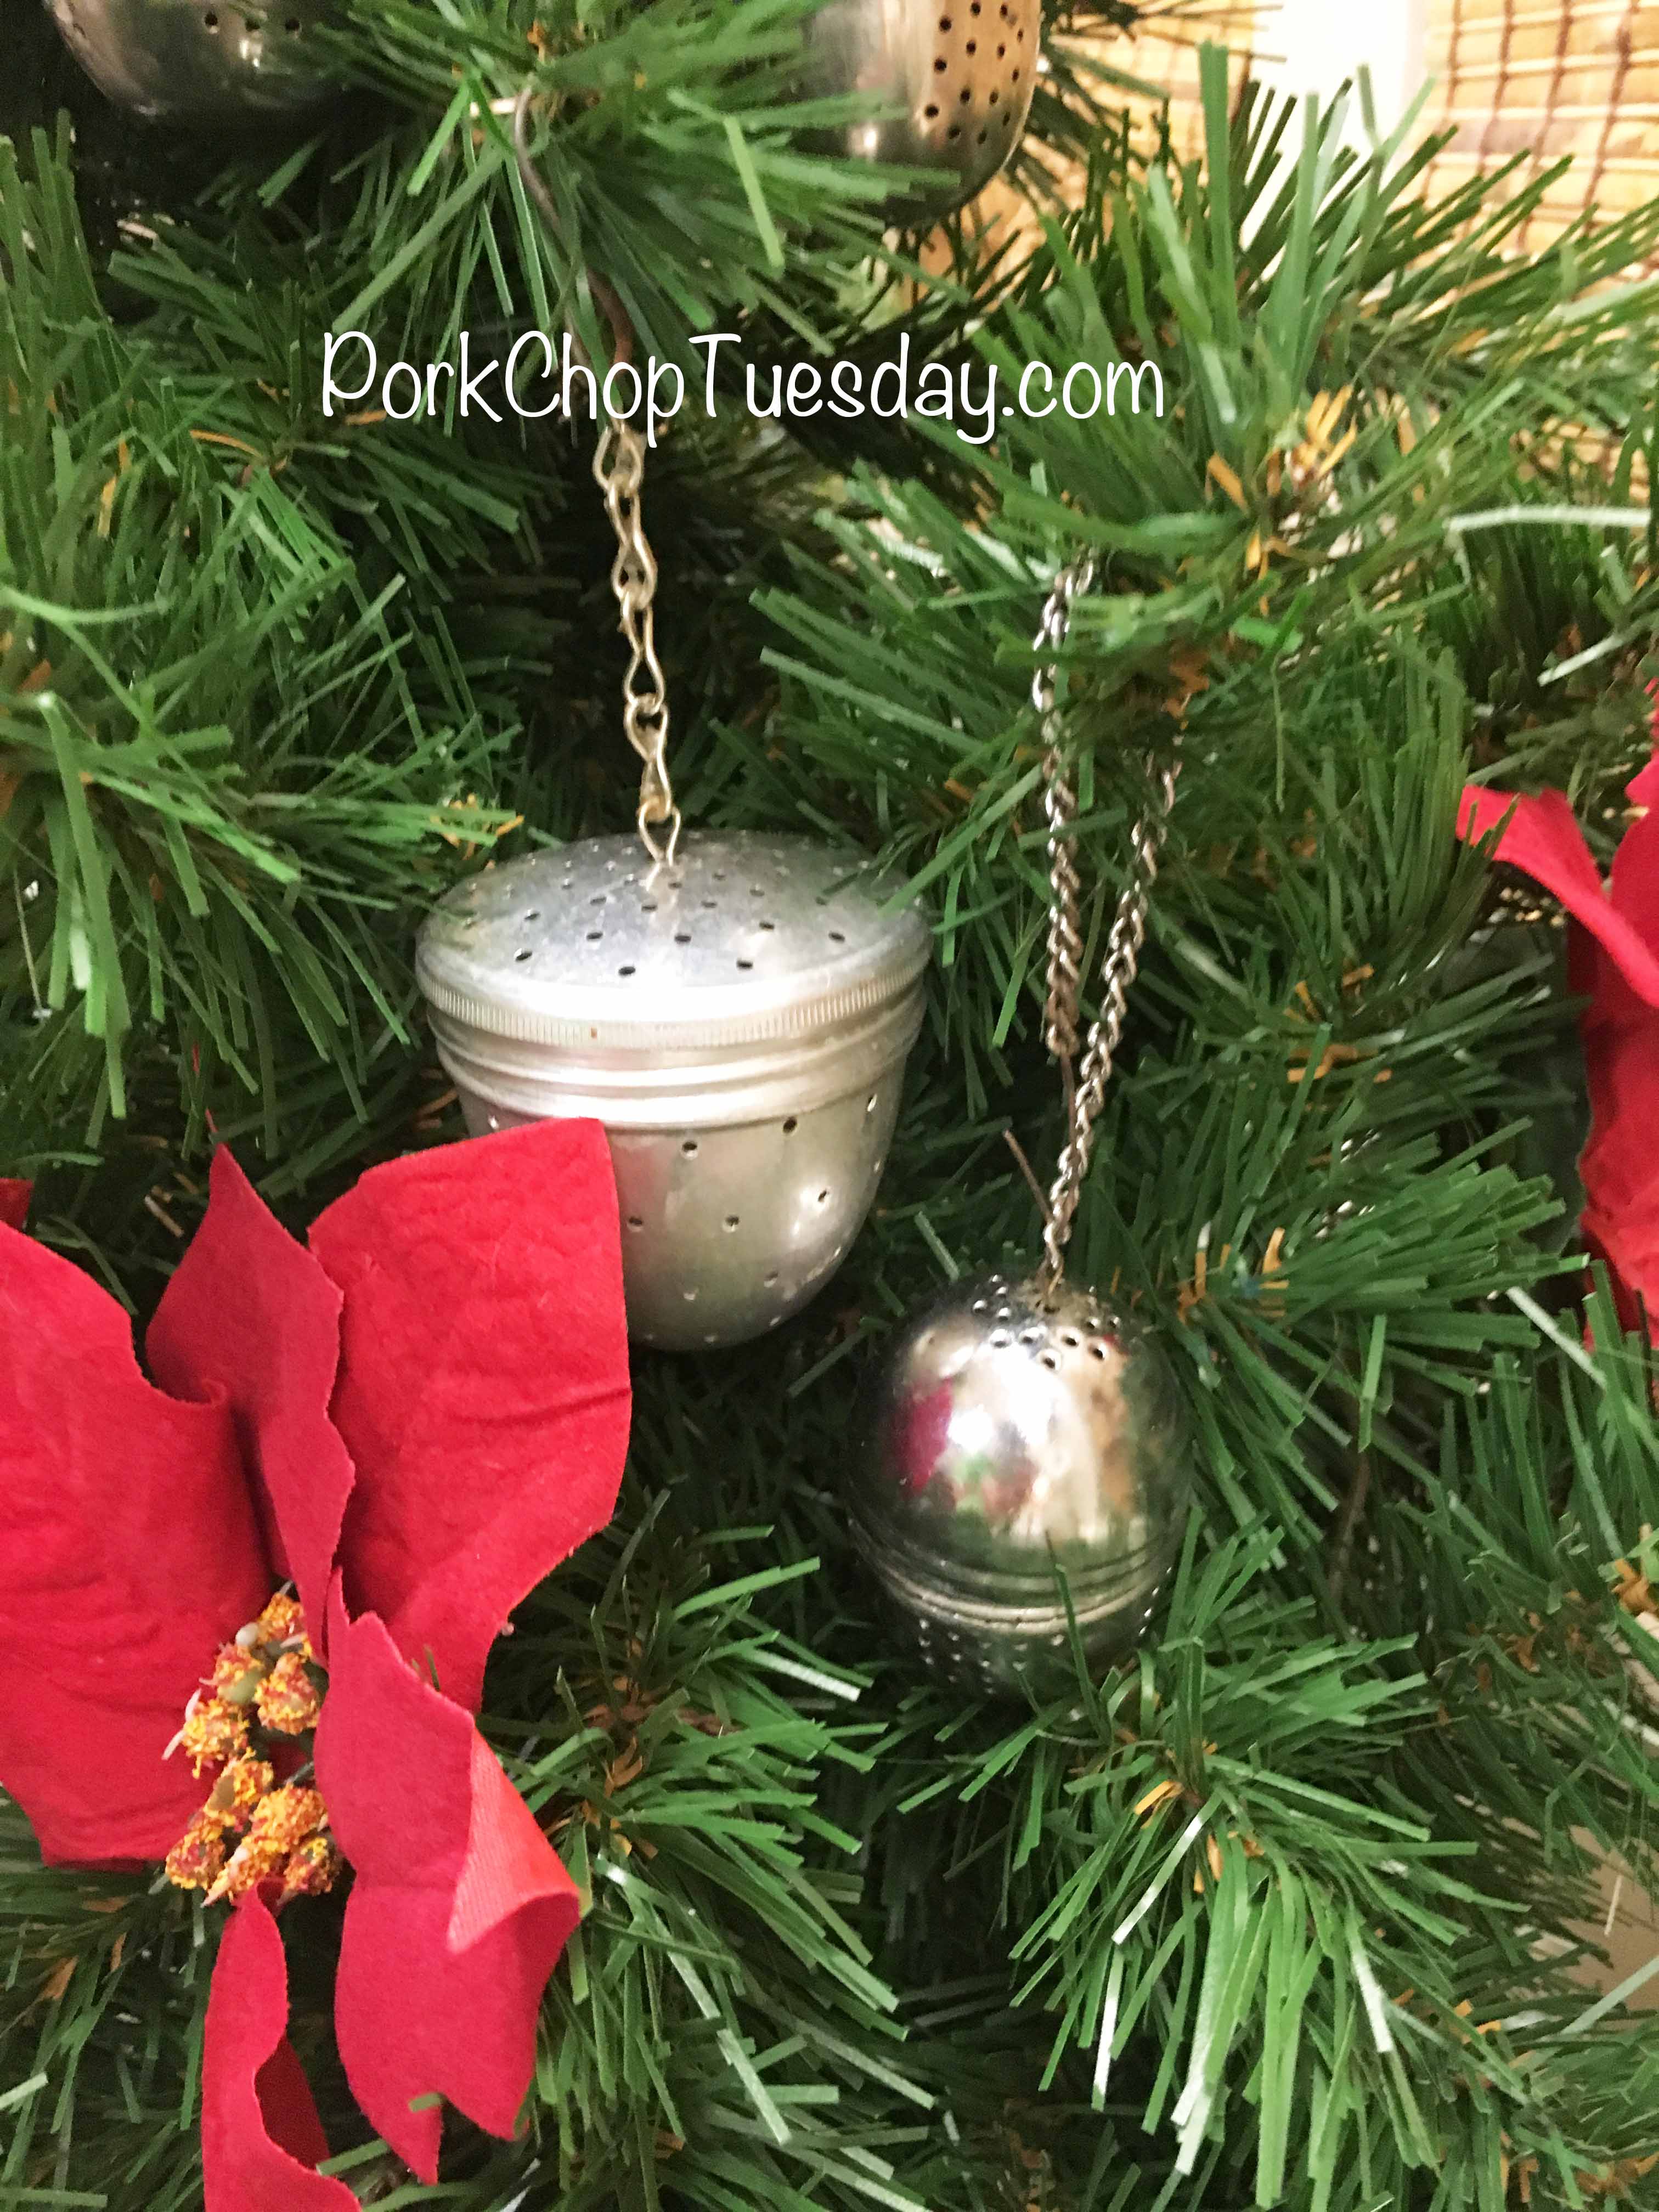
No, I am not going on a KonMari kick and throwing away recipes! (at least not this one) The reason I saved this recipe to begin with was it brought me joy!! I was probably initially attracted to the vintage aluminum cups!

Cheese straws are a classic Southern snack. They can be fancy and served with wine or casual and served with football! You can buy them at the store, but they are so easy to make! I made cheese straws to give away as gifts this past Christmas.

snowflake package

I was in a hurry and didn’t even fancy up the cellophane baggies! How sad! At least they were cute baggies.

cheese straws

The cheese straws were very fragile. I had to be careful putting them in the bags. They made a great non-sweet snack to give as a gift! Everyone loved them!

Parmesan Cheese Straws

2/3 cup refrigerated pre-shredded Parmesan cheese or use fresh cheese plus 1/4 cup of flour

1/2 butter, softened

1 cup all-purpose flour

1/4 teaspoon salt

1/4 teaspoon ground red pepper

1/4 cup milk

*Put the cheese and butter in a food processor fitted with the knife blade. Whir it around until blended.

*Add the flour, salt and red pepper. Process about 30 seconds or until the mixture forms a ball. Scrape down the sides from time to time.

*Divide the dough in half. Roll each portion into a 1/8 inch thick rectangle. Cut the dough into 2″ x 1/2″ strips. (You can also shape the dough into 3/4 inch balls; flatten to about 1/8 inch; brush with milk and top with a pecan half.) Place on a baking sheet; (I used parchment for easy cleanup!) brush with milk.

*Bake at 350˚ for 7 minutes for strips (10 minutes for rounds) or until lightly browned. Cool on a wire rack.

**Makes about 5 dozen cheese straws! I put about 25-30 in each baggie.

**When cutting out the straws, you can use a regular knife, pizza wheel, pastry cutter…whatever you want to make it fancy! You can also use a cookie press if you have one.

So, we had a few cheese straws leftover. After Christmas we were all tired of eating Christmas food! I decided experiment with (and disguise) the leftover straws. I crushed up the cheese straws (This was very easy since they were fragile to begin with!) and made Chicken Parmesan!

Chicken Parm

I dipped the chicken in a little melted butter, then the crushed up cheese straws, then into the oven. (again, parchment paper makes clean up a breeze!) Sorry, I don’t remember how long I baked it. I’m thinking 425˚ for about 15-20 minutes depending on the thickness of your chicken. Once baked, add a little marinara sauce and mozzarella cheese! Back in the oven for another 5 minutes-until the cheese melts. YUM! The red pepper that is in the cheese straws was really yummy in the Chicken Parm! It was yummy in the cheese straws, too!

Christmas porch

Well, I finally undressed my Christmas porch! I mean, it’s February and it’s 70˚ outside!!! Who wants to have winter!? Well, I do.

I actually took down the obviously Christmas decorations a couple of weeks ago. I thought I could make the rest work a little further into February. I mean, gosh, I still have a pumpkin on my porch! Why not keep the winter looking decor?!

ice skates

We have had several days when there were snowflakes in the forecast. We just can’t seem to get the cold and the moisture together! I’m sure we’ll get snow in March! Ugh!

flocked Christmas trees

The flocked trees just seemed like a wish that was left ungranted.

A store at the mall was tossing these trees after last Christmas. They had used them as store displays. Did I want free flocked trees? YES, please! You should have seen the mess it left in my car! I was not ready for that mess in my house, so I used them on the porch. They definitely looked wintery.

porch wreath

scrap wood Christmas tree

chalkboard Christmas ribbon

porch pillows

I left the red ribbon on the pillows. It can be for Valentine’s Day, right?

The ice skates, sled and snowflake pillows stayed out, too. I’m still hopeful we will see snow before Spring.

A tea infuser, sometimes called a tea ball, is what you put your dried tea leaves in in order to make the tea. It keeps your tea leaves from floating around in your teacup. Of course, tea bags do the same thing but aren’t nearly as cute.

Since my chorus has hosted a fundraiser Tea for the past six, going on seven, years, I became interested in tea infusers. They come in all shapes and sizes. I had one aluminum infuser that had been my grandmothers. 

One day, while browsing Pinterest, I came across this picture…

6bda719ebcc3f30470a0a8dd9120deca

Oh, my goodness! Tea balls as Christmas ornaments!! I loved the idea and started hunting yard sales and estate sales. One Sunday afternoon I ran into my friend, Donna, at an estate sale. I told her about my idea. She joined me in my hunt, so did my mother-in-law, Brenda. I’m not sure I actually found very many of the tea balls in my collection my self. Every time I saw Donna she was handing me another treasure. Brenda gave me a box full of tea infusers for Christmas one year! 

This Christmas I finally had enough “ornaments” to fill a tree!

tea ball tree

Ok, I think I need a better tree. This was actually a branch off of an old tree I pulled off the curb! 

I thought the tree needed a little color, so I added these fake poinsettias I’ve had for a while. 

tea ball ornaments

You can’t tell from the pictures, but I had the greenery stuffed into some styrofoam in a piece of crockery. It made me happy to see it on the counter. However, I will have to do something different next time. It took up too much valuable space for setting out nut clusters and rolling out cookie dough!

tea ball ornaments 2

I loved my little “tea tree”. It would be cute to add little teapot ornaments to it. Tea bags or other tea items would be fun, too, and add more color in the process. 

Thanks, Donna and Brenda, for my fun Tea Ball Tree!

Well, the girls and I had a fun afternoon of giggles and crafts a couple of Sundays ago!

families that craft together

While Chip was off at a church meeting, we played!

Both of the girls had projects they had already started. I decided to work on some seasonal decor. Of course, my Pinterest boards are full of ideas!

Katie is working on her first quilt! She saw a pattern on Pinterest (like mother like daughter!) and loved it. I was able to track it down for Christmas last year.

pattern pieces

She had a BLAST picking out all of the colorful fabric! She is well on her way to having all the little pieces cut out and ready to start stitching!

cutting quilt pieces

quilt pattern

Megan had a pre-printed world map that she wanted to quilt. She loves anything having to do with world travel!

map

She ended up not liking the way she had stitched around the countries AND the latitude and longitude lines and ripped out some of them. It has been a fun project for her to work on while watching the World Cup!

quilt back

I worked on some patriotic decor for our 4th of July church gathering at our house. I got the “wreath” idea here. I liked hers better. She used fancy scrapbook paper. I used what I had–construction paper. I liked how hers had a darker, more muted tone to it. Oh, well. I liked mine well enough! Plus, it was fun to make.

patriotic door decoration

Nothing too fancy about toilet paper tubes wrapped in construction paper to look like little rocket!

toilet paper tube rockets

I had not really done much crafting lately. I realized my NEED for a craft room! So, I spent a good amount of my craft time tracking down supplies! One day I will have a space to corral all my supplies!

My constant supply tracking was just one more thing to laugh about on our fun-filled “crafternoon” that bled into the evening.


Welcome sign

Welcome indeed!

The group I sing with, Top of the Rock Chorus, hosted our 6th Spring Tea the Saturday before Mother’s Day.

As our event has grown, finding just the right venue has been a challenge for our non-profit checkbook! I think we hit a home run this year though!

Our Spring Tea this year was held at Faulkner Lake Orchard, just outside of North Little Rock, AR.

sign

Faulkner Lake Orchard is a working farm. They have a you-pick-it area. There is also a general store full of freshly picked produce, canned items and local honey.

General Store sign

General Store

honey

produce

The farm was just so peaceful and relaxing. I plan to go back sometime when the trees are in full bloom. There are a few pictures on their website showing different events in the orchard. It makes a beautiful setting for a wedding.

peach orchard

rocking chairs

cypress trees

peach trees

peach

The peaches were not quite ready while we were there. Faulkner Lake Orchard hosts a huge peach party in July. They will have food, fun activities for the kids, peach tea and peach ice cream all for FREE! Mrs. Karen said to get there early!!

Speaking of Mrs. Karen…

Ms. Karen

…she was the sweetest lady! Karen Martin is the owner of Faulkner Lake Orchard.  She was so laid back and happy to help however we needed.

parking lot shuttle

She even provided a shuttle from the parking area to the main event center for our guests.

Stay tuned! I have lots more to share with you from this year’s Tea.

This summer our neighbors started what I have thought our town needed for a long time…a farmer’s market!

The response has been good, from what I can tell. Sadly, there were a couple of rain out weekends. We haven’t gone every time. We were out of town for one weekend–had something else going one another weekend.

It is a fun place for folks in the community to meet and catch up with each other.

It is smack dab in the middle of town, literally at the intersection of Front and Center!

I really hope they continue to have the farmer’s market in the future!

We have plans to head out there in the morning. The weather looks like it is going to be perfect.

Here are just a couple of pictures we took the last time we went to the Fishtown Farmer’s Market.

This was just a sample of the goodies at the farmer’s market.

There is nothin’ quite like that fresh farmer’s market produce!

Do you have a favorite local farmer’s market?


My goodness it has been a busy Spring!!!

I’m sad to say this seems to be our new pace of life.  The last time I posted on this blog was December! And here it is May! So, I am going to try to do a little catching up in the next few posts. With school coming to an end for the year, hopefully things will slow down a little. I would really like to get back to testing and blogging about new recipes and such. Fingers crossed!

To be honest, January and February are a bit of a blur. With a child in college and a child in high school they returned to school after Christmas break at different times. My timeline got a little skewed! I know we had ONE day of snow.

In March (Notice I skipped February! Who knows what happened then?!) we were honored to host a sweet missionary family and our pastor and his family for dinner. I didn’t get any pictures of the people that night-ugh. I am really out of practice doing this blog thing! Plus, we were just having too much fun! I did think to take a couple of shots of the pretty Spring Table decorations while I was in the midst of setting the table. I borrowed a few things from my Mom, and a few on-sale spring flowers finished off the look.

Unfortunately, one of the cats thought my little birdie was real! I used it anyway.

This bank was from forever ago! Not sure if it was mine or my sisters.

Here are a few decorations from around the dining room/den and the porch.

I jazzed up a wreath by using twine to tie on a few flower pots. More sale plants filled some pots, others stayed empty.

I have been waiting for just the right occasion to use this garden themed ribbon.

I made two crockpots full of Pork Chops with Field Peas! Using the crockpot is the way to go when company comes! This is a crowd pleasing recipe!

Individual Banana Pudding cups were also a hit at dessert time.

I hope you have been enjoying your Spring, too!

Welcome to our house!

christmas-wagon

Why do we all love decorating for Christmas?! I suppose nostalgia has something to do with it. There is also the fact that our homes get a face-lift for free, unless you buy new decorations each year.

I pulled this little wagon out of a dumpster this summer! It is perfect filled with fake presents and a cookie jar on our porch coffee table.

christmas-porch-pillows

I was thrilled to find this fun Christmas ribbon on sale at The Paul Michael Company while on vacation this summer.

sled-and-skates

My husband’s childhood sled came to live with us! Oh, if that sled could talk! I’m sure there would be stories it could tell!

north-pole

I made this North Pole as decoration for the seasonal membership recruitment for my chorus. The flower-pot base worked well with the empty wrapping paper tube I got from a gift shop. A little paint and ribbon and voila! I couldn’t stand to just throw it away, so it found a home on my porch.

kitchen-wreath

Look what I made to go in my fancy new kitchen!!! Well, actually, I made three!

wreaths-on-cabinets

If you look closely…

scrap-wreath

you might recognize the fabric from another project! I love “free” stuff!

vintage-bottles-with-berries

top-of-refrigerator

vintage-kitchen-vignette

christmas-shelf

I love my new kitchen!

I enjoy the old things we have, too!

plaid-china

…like plaid Christmas plates

vintage-christmas-decorations

and vintage decorations!

joy-lamp

joy

joy-with-light

I picked up these “JOY” ornaments at last year’s after-Christmas-sale. I wish they had had all the right letters in the plaid. Oh, well. I like the was the light shines behind them at night.

german-crate

This great German crate (a hand-me-down from my in-laws) got relocated this year. Skeeter seems to approve.

slipcovered-couch

The gray and red from the kitchen came into the den. I picked up the snowflake pillows on sale last year. I guess that is where I got to thinking about the gray for the kitchen. The sweater pillows came from Goodwill. I couldn’t commit to cutting the pillows just yet. So, these are held together with safety pins.

gray-sweater-pillow

black-red-and-gray-sweater-pillow

red-and-white-sweater-pillow

I truly hope you all can find TRUE JOY this season-which is only found in Christ the LORD!

nativity

“And the angel said unto them, Fear not: for, behold, I bring you good news of great joy, that will be to all people.” Luke 2:10

Go ahead and add these Coconut Pecan Pralines to your holiday baking list!!! They are sinfully delicious!

coconut-pecan-pralines

My husband and I recently had a dinner meeting with some of our friends. When I asked our hostess what I could bring, she said dessert. Then her daughter chimed in and begged for No-Bake Cookies. Fine by me! I LOVE NO-BAKE COOKIES!

I had seen a new “No-Bake Cookie” recipe on Pinterest a while back. I thought I would try this new recipe along with the old faithful No-Bake Cookies and see what folks thought about them.

two-cookies

I had a little trouble with these new “cookies”…well, at least I thought I had.

They didn’t set up in time for me to take them to the meeting. UGH! I was a little frustrated. So, what else could I do but start eating the gooey cookies right off the waxed paper with a spoon! Oooohhhh! They were so yummy! Still a little warm…WOW!

I looked back at the recipe. I had not let the mixture boil quite long enough. I probably didn’t stir long enough either. The name of these “No-Bake Cookies” was actually Coconut Pecan PRALINES! I have made pralines in the past, successfully and unsuccessfully. The unsuccessful time, the mixture set up way too quickly. Maybe I cooked them too long. I was unable to set out the batch as individual pralines! It did make a fine topping for ice cream though.

As the afternoon went on, and I fixed a second batch of No-Bakes to take with me, I noticed my pralines starting to set. There was still no time for them to be ready for the meeting. So, I took a double batch of regular chocolate peanut butter No-Bakes to my friends’ house. Their daughter was excited that I left a bunch for their kitchen!

Back at home, however, I had a whole batch of Coconut Pecan Pralines! Oh, poor me! Well, it would be “Oh, my poor pants!” if I didn’t get rid of some of them~and fast!

It was just a couple of days later when we learned of my death of my husband’s 92 year old grandmother. You may remember Mamaw and her Lemon Jello Cake  being featured here as a “guest chef”.

cake with milk

Perhaps you remember some of her handiwork…

Chip's Mamaw made this plastic canvas mail box. Katie loves how it really opens.

We have so many special memories of time spent with Mamaw.

I took the Coconut Pecan Pralines to share with family after the funeral. Everyone loved them. I have to think Mamaw would have loved them too.

no-bake-cookies

No-Bake Cookies

2 cups sugar

1 stick of butter

3 Tablespoons cocoa powder

1/2 cup milk

1/2 cup crunchy peanut butter

1 teaspoon vanilla

3 cups oats

Bring first four ingredients to a boil. Stirring to avoid scorching. Boil one minute.

Remove from heat. Add peanut butter and vanilla. Stir until peanut butter melts.

Add oats. Stir.

Spoon onto waxed paper in bite-sized mounds. Work quickly! They set up pretty fast.

plate-of-pralines

Coconut Pecan Pralines

2 1/2 cups sugar

1/2 cup evaporated milk

1/2 cup corn syrup

1 stick of butter

1 teaspoon vanilla

2 1/2 cups chopped pecans

2 cups coconut

Combine the chopped pecans and coconut in a mixing bowl. Set aside.

Bring the first four ingredients to a boil, stirring to avoid scorching. Boil for 3 minutes!

Remove from heat. Stir in vanilla and coconut-pecan mixture. Stir until mixture starts to thicken~about 4 minutes!

Spoon onto waxed paper in bite-sized mounds.

A couple of these in a cellophane baggie with a ribbon and you may as well move to the North Pole!


When we lived in Indiana, my husband had a meeting in the northern part of the state in a little town called Whiting, IN. Whiting sits right on Lake Michigan. Chicago is a stone’s throw away. The part of the meeting he remembers the most was the potluck, or as they say in Indiana, pitch in. The tables and tables of delicious casseroles and desserts were breath-taking. It wasn’t until a fella brought out four huge pans of mostaccioli that my husband thought he had died and gone to heaven! The man had a heavy Chicago accent, so it wasn’t mostaccioli, it was MAStaccioli.

In case you were unaware, the Chicago Cubs won the world series!!!!

cubs-win-the-series

We are Cubs fans here at our house–not bandwagon fans. We have loved the Cubbies for a long time!

When they made it to Game 7 I figured I needed to make something Chicago-ish for dinner. I thought about deep-dish pizza. I thought about brats. Then I remembered the Whiting experience and decided to make mostaccioli!

I didn’t, however, make four huge pans of mostaccioli. One huge pan was plenty!!

Cheesy Mostaccioli

This recipe comes from an old Pampered Chef fundraiser cookbook. My sister bought it for me when she was in college. (By the way, The Pampered Chef company is based in the Chicago area–Bonus points!)

Pampered Chef cookbook

We barely made a dent in that pan!

Hooray! Leftovers!

Easy Weeknight Dinner

Enjoy!

Cheesy Mostaccioli

1 package mostaccioli pasta (16 ounces) cooked according to package directions

1 1/2 pounds ground beef, browned and drained

1 jar (28 ounces) of your favorite  spaghetti sauce

1 can condensed cheddar soup (11 ounces)

1 tsp black pepper

1 tsp dried Italian seasoning

3 cups (12 ounces) shredded mozzarella, divided

***cook’s note***You could replace some of the ground beef with some ground Italian sausage. I’m not a fan, so I stuck with the ground beef. I think next time I will add just a little more Italian seasoning-not too much more though.


*Once your meat is cooked and drained, add spaghetti sauce, soup, pepper and seasoning.

*Stir in pasta and 2 cups of the mozzarella cheese.

*Transfer everything to a  4 quart baking dish that has been sprayed with cooking spray.

*Sprinkle last cup of cheese over the top.

*Bake in a 350˚ oven for about 40 minutes.

Critics’ Corner

Chip-I LOVE this dish. I once enjoyed it at a “pitch in” (Indiana for “pot luck”) at Whiting Baptist Church in Whiting, Indiana. It was so good I almost made myself sick. This batch is like being “back home again in Indiana.”

Katie- I thought that it was sooo tasty! The soft cheesy noodles at the bottom were my favorite. I felt so “Chicago” eating it! Go Cubs! 🙂 

Megan-off at college